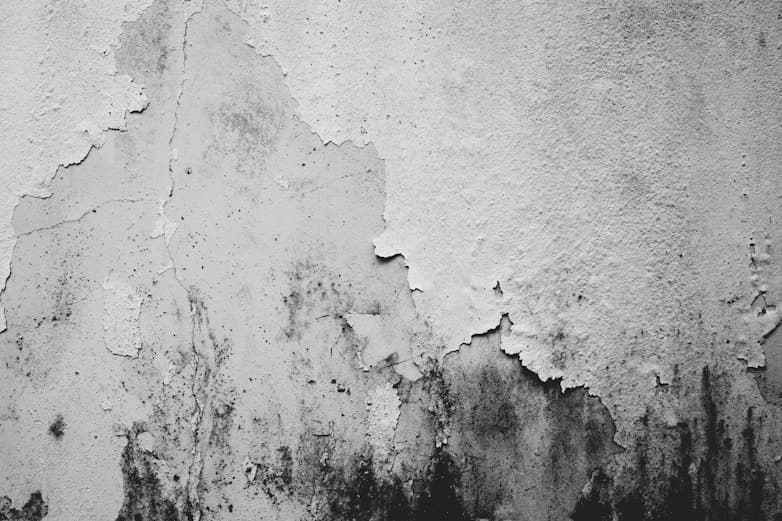
A Florida roof leak wets insulation, trusses and ceiling drywall before a stain appears. Learn how mold follows the water, what to check and how to assess it.
The afternoon thunderstorm passed, and that evening you noticed a brown ring on the bedroom ceiling that was not there before. Or the hurricane lifted a few shingles, the tarp went on a week later, and the ceiling has been slowly yellowing ever since. A roof leak in Florida is never just a roofing problem. By the time water shows on the ceiling, it has already soaked everything between the shingles and the paint.
The direct answer
After a roof leak, mold typically begins growing within one to two days on the wet materials in the attic and ceiling: the underside of the roof sheathing, the trusses, the insulation and the attic side of the ceiling drywall. Fixing the roof stops new water. It does not dry or decontaminate what is already wet. Whether you end up with a mold problem depends on how long the materials stayed wet and whether anyone confirmed they dried, and in Florida's attic conditions they usually do not dry on their own.
Following the water
Water from a roof leak takes a long route before it becomes a stain.
- Entry. Rain gets under a lifted shingle, through a cracked vent boot, past failed flashing at a wall or chimney, or around a skylight. Wind-driven rain during tropical storms enters places that stay dry in ordinary weather.
- Sheathing. Water soaks the plywood or oriented strand board decking, then runs along its underside, sometimes several feet from the entry point.
- Trusses and rafters. It drips onto framing and follows the slope of the wood downhill.
- Insulation. It lands on blown-in or batt insulation, which absorbs it like a sponge and spreads it outward.
- Ceiling drywall. Saturated insulation sits on the paper back of the drywall. Water soaks through, and eventually a stain appears on the painted face.
- Walls. If the leak is near an exterior wall, water runs down inside the wall cavity, wetting the drywall from behind all the way to the floor.
The stain you see marks the end of this path, not the beginning. The wet area in the attic is almost always larger than the ceiling stain and offset uphill from it.
Why Florida attics make it worse
An attic here is a drying nightmare. Summer temperatures above 120 degrees sound like they would evaporate anything, but the air is also near saturation. Wet insulation under those conditions does not dry; it incubates. Daily afternoon storms re-wet the leak before anything recovers. Tarps after hurricanes are often in place for weeks, and they leak at the edges. Insulation pressed against the back of drywall holds moisture there indefinitely.
Mold follows. Within days, Aspergillus and Penicillium colonize the insulation and the drywall paper. Within a couple of weeks of continuous wetting, Stachybotrys and Chaetomium can establish on the drywall paper and any paper-faced insulation, since this is exactly the saturated cellulose they prefer.
Signs the leak has become a mold problem
| What you notice | What it likely means |
|---|---|
| Ceiling stain that keeps growing or darkening after the roof was fixed | Insulation above is still wet and draining |
| Stain that is brown with a dark or fuzzy edge | Growth on the drywall face or paper |
| Sagging or bubbling drywall | Saturated gypsum, often with growth behind |
| Musty odor in the room, worse on hot afternoons | MVOCs from active growth in the attic or ceiling cavity moving into the room |
| Rust spots in a pattern across the ceiling | Nail heads condensing, indicating high moisture in the cavity |
| Discolored or matted insulation visible from the attic access | Wet insulation, likely colonized |
| Dark streaks on sheathing and trusses above the stain | Active or past growth following the leak path |
What an assessment does
A water intrusion and damage assessment after a roof leak treats the roof, attic, ceiling and walls as one system.
- Attic inspection to find the entry point, map the wet area on the sheathing and trusses, and document the condition of the insulation. The pattern of staining in the attic usually identifies the leak even if the roofer has already patched it.
- Moisture readings on the sheathing, framing and the attic side of the drywall, and on the ceiling and any walls below from inside the room.
- Thermal imaging of the ceiling from below, which shows the full extent of wet drywall, typically well beyond the visible stain.
- Surface sampling of growth on insulation, framing or drywall and air sampling in the affected room and outdoors, sent under chain of custody to an independent accredited laboratory.
- A written protocol that specifies which insulation must be removed, how much drywall must come out, how the framing and sheathing should be treated, and how the work area should be contained so spores from the attic do not enter the living space.
A comprehensive mold assessment is appropriate when the leak was long-standing or multiple rooms are affected. The findings, photos and protocol are delivered in the UES Client Portal, where they can also serve as the independent documentation an insurance claim often requires. UES does not perform roofing, drying or remediation, so the scope in the protocol is driven by the readings and the lab, not by the size of the eventual job.
What to do right now
If the leak is active or recent:
- Place a container under the drip and poke a small hole at the center of any bulging ceiling to release water in a controlled way rather than letting the drywall collapse.
- Photograph the ceiling, the attic if you can safely see in, and the roof from the ground, with dates, before any repair.
- Get the roof tarped or patched quickly, but understand this is step one.
- Run the air conditioning to keep indoor humidity down. Do not blow fans at the ceiling.
- Do not pull down drywall or insulation yourself. Disturbing colonized insulation sends spores into the room and into the return.
- Do not paint over the stain until the materials are confirmed dry and the protocol has been completed.
If the leak was months ago and the stain has simply been there:
- Treat the odor and any growth at the stain edge as evidence the materials never dried.
- Have the ceiling and attic assessed before any cosmetic repair.
Insurance and documentation
Roof leak claims in Florida often hinge on when the damage occurred and whether resulting mold was addressed promptly. Independent moisture readings, thermal images, lab results and a dated protocol establish what was wet, how far it extended and what it required. Having an assessor who does not perform the repair produces documentation a carrier is less likely to question.
When to call UES
Call when a ceiling stain appeared after rain or a storm, when a stain is growing or has a dark edge, when a roof has been tarped for more than a few days, when a room smells musty after a known leak, or when you need independent documentation for a claim. Book online or call (407) 438-4684, Monday through Friday, 9:00 AM to 5:30 PM. UES serves Orlando, Kissimmee, Daytona Beach and all of Florida.
Related reading:
Frequently asked questions
How long after a roof leak does mold start?
Growth can begin on wet insulation, truss wood and the back of ceiling drywall within 24 to 48 hours. Because the attic side of the ceiling is hidden and Florida attics are hot and humid, the material often stays wet long after the roof is patched, so the clock keeps running until someone confirms the materials are actually dry.
The roofer fixed the leak. Do I still need an assessment?
A roof repair stops new water from entering. It does nothing about the insulation, framing and drywall that got wet before the repair. If the ceiling stained, if the leak went on for more than a day or two, or if there is any odor, an assessment with moisture readings tells you whether those materials dried or whether mold is now growing above the ceiling.
Can I just paint over the ceiling stain?
Painting hides the stain but seals in whatever is behind it. If the drywall is still wet or the insulation above it is colonized, the stain returns and the growth continues. Confirm the material is dry and uncontaminated first. Then repair or replace the drywall as the protocol specifies, and paint last.
Worried about what you just read?
An independent UES assessment tells you exactly what is going on, what caused it and what to do next. Book online or call.